Whether it’s taming an overgrown back forty, preparing for a shed, or creating a fire break, backyard clearing feels straightforward — until you’re standing in front of a wall of lantana wondering where the legal lines are.
This checklist walks you through it in the right order: compliance first, safety always, wildlife throughout.
Step 1 — Check before you clear
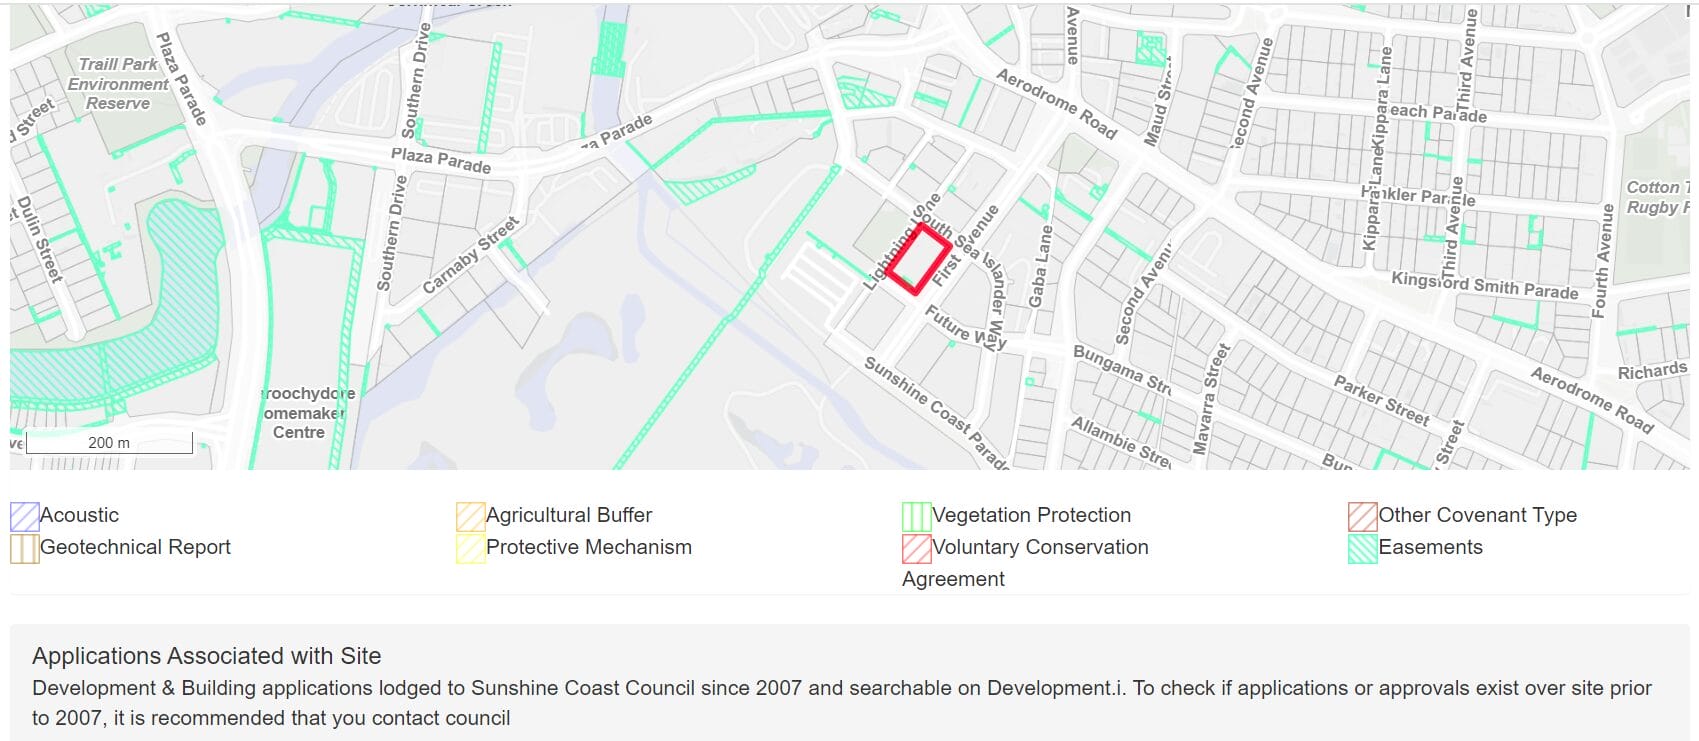
Look up your property on Council’s Development.i mapping for biodiversity and waterway overlays. On the Sunshine Coast, clearing associated with an approved dwelling is generally capped around 600m²; beyond that, or inside mapped vegetation, you may need approval. In Noosa Shire, assume a permit is needed unless an exemption clearly applies. Declared pest plants are usually fine to remove.
Step 2 — Walk it with a professional eye
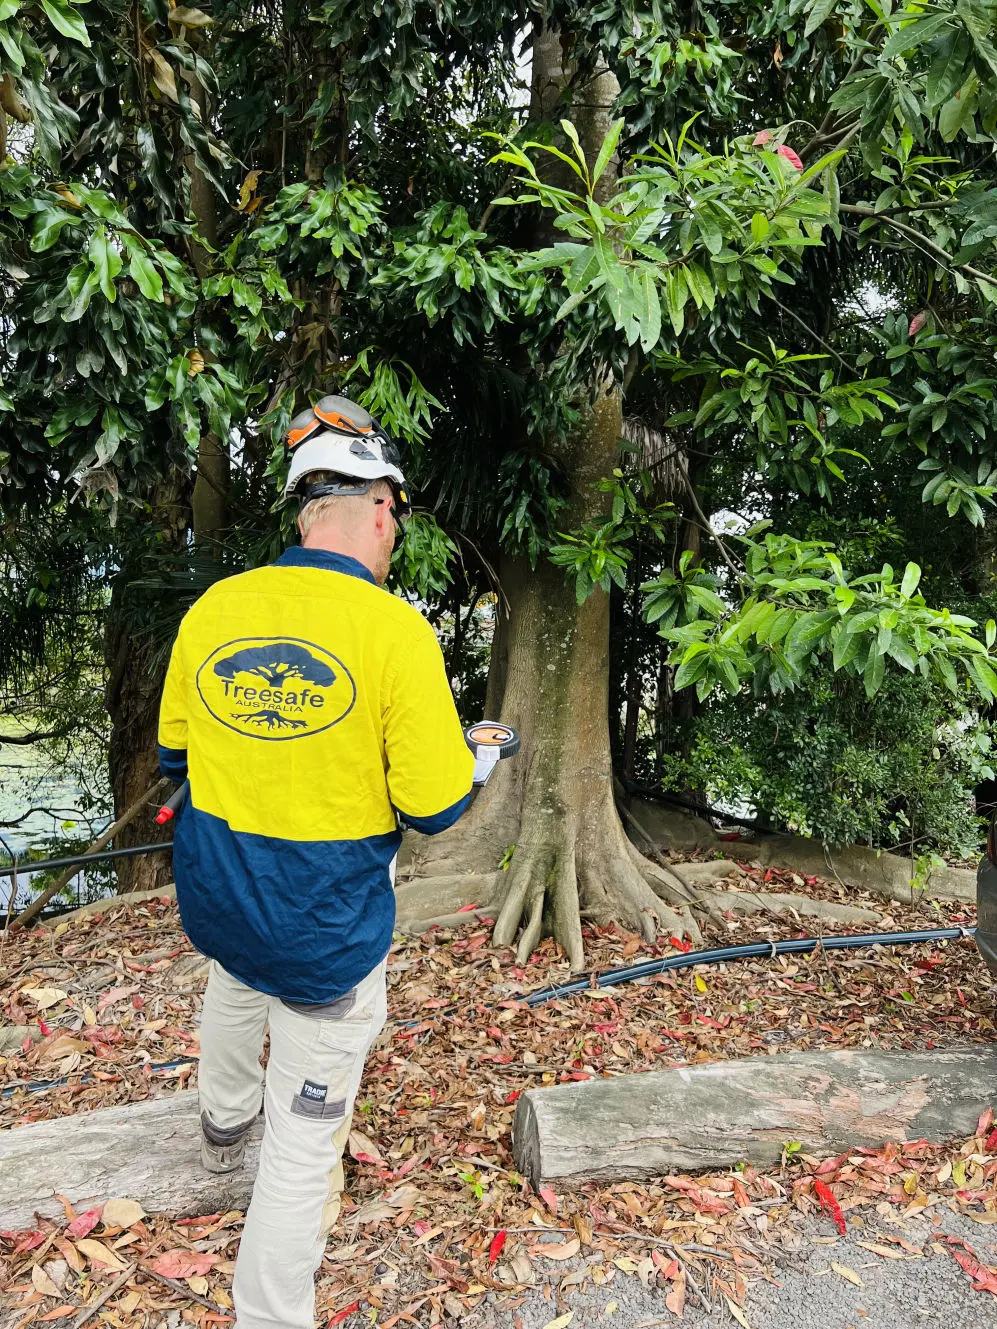
Before anything falls: identify habitat trees (hollows, nests, scratches), dangerous trees (decay, cracks, hangers), and anything near boundaries, fences or lines. A one-hour arborist walk-through flags the trees that need rigging, the ones needing permits, and the ones worth keeping for shade and value.
Step 3 — Choose the method to match the risk
Hand clearing for scrub and regrowth; machinery for open country; climbing crews for anything within falling distance of structures. Never mix DIY enthusiasm with large timber — tensioned wood and chainsaws are how weekends end in emergency departments.
Step 4 — Deal with the aftermath
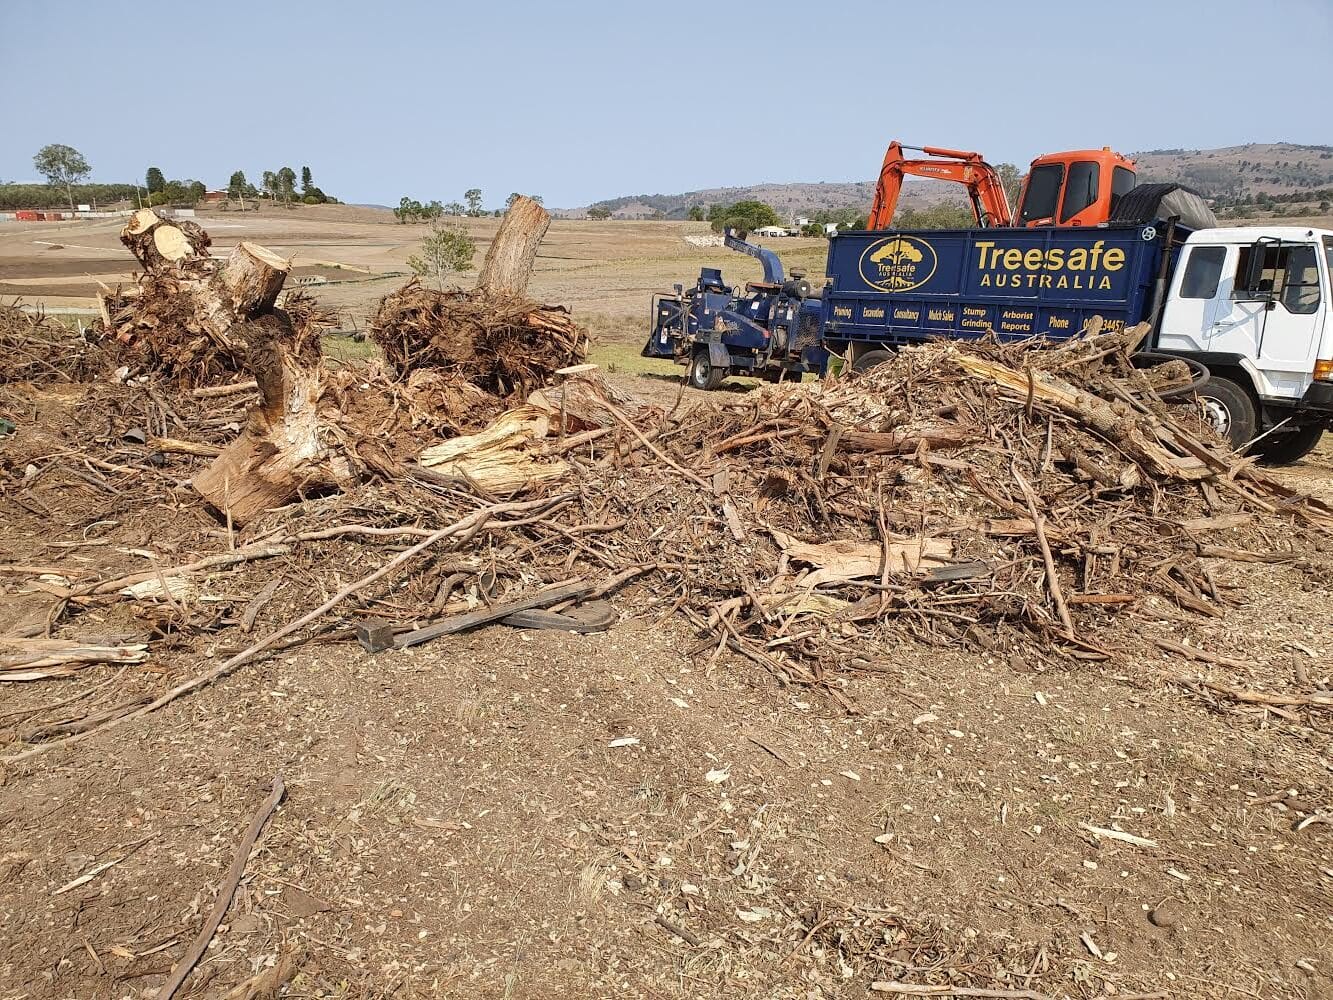
Mulch in place where possible (free erosion control and soil food), remove declared weeds off-site as required, and stage replanting if approvals require offsets. Keep records and photos — if your clearing was exempt, your documentation is what proves it.
Clear in this order — check, assess, clear, restore — and your project stays legal, safe and genuinely better for the land.